Digital Insertion Order
CONVENTIONS
QuickTIPs (and Links) are highlighted in blue.
Permission-based items are highlighted in red.
System navigation is italicized.
DIGITAL INSERTION ORDER
The media equivalent of a Purchase Order, the Digital Insertion Order outlines everything from the Vendor and Targeting details to the Impressions and Cost for the specific ad.
TIP: Enter a Disclaimer via Site Branding (e.g. “Impressions are subject to inventory supply and demand constraints and serve as an approximation of expected delivery.”).
CREATING AN INSERTION ORDER
A Digital Insertion Order automatically flows from its parent Digital Media Detail.
To first create a Digital Media Detail, go to Clients & Jobs — Client — Job One Sheet — I Want To: Create Digital Media Detail. You can also click ![]() at the top of the screen.
at the top of the screen.
TIP: When navigating via the ![]() menu, the Job field on the initial Create screen of the Detail is content-sensitive. Enter as many job Title keywords as possible to narrow down the list more quickly and eliminate unnecessary scrolling.
menu, the Job field on the initial Create screen of the Detail is content-sensitive. Enter as many job Title keywords as possible to narrow down the list more quickly and eliminate unnecessary scrolling.
You’ll be guided through a series of questions/fields in order to build the most accurate Detail. You must include a Subject (e.g. “Louisville Market,” “Women 30+,” etc.). If the desired Vendor doesn’t appear in the drop-down menu, on the second Create screen, you’ll need to first add them by going to Address Books — I Want To: View Vendor Address Book. Click on the Add Vendor link located at both the top and bottom of the page. Enter their Name, Tax Rate, etc.; click Add Vendor. Once submitted, the information will be included in the Address Book and then be accessible from the Create Detail screen. You may need to refresh your browser in order to see the Vendor in the drop-down menu.
When you’re through, click Submit.
VIEWING AN INSERTION ORDER
To view an Insertion Order, go to Clients & Jobs — Client — Job One Sheet — I Want To: Open Documents Folder.
Because the Order flows from the overall parent Media Detail, you’ll want to first View the appropriate Detail. Once inside, click on a Vendor to view its Insertion Order. To view the Printer Friendly version of the Order, click on the printer icon at the top of the page.
SHARING AN INSERTION ORDER WITH A VENDOR(S)
If you’d like to share your Order with a Vendor, check the appropriate box beside Viewable, at the bottom of the form. Click the pop-up box to the right of the Vendor User(s) field. The Vendor Address Book will appear. Simply click the appropriate name(s) and close the box. Next, check the box beside Notify Vendor by E-mail. If addresses have been associated with the selected Vendor User(s), they’ll appear in the box. Manually enter (or remove) addresses, separated by commas. To alert internal Employees via their Message box, simply add their names to the cc: field. External contacts will receive an e-mail that reads:
“The document ‘[Subject]’ has been posted by [Employee] for your review. To view it, please click on the following link and enter the Agency, User name, and Password supplied to you by your agency representative.
[Link]
To provide comments regarding the document, click its corresponding Add Comment link. Should you need further assistance, please contact your agency representative.”
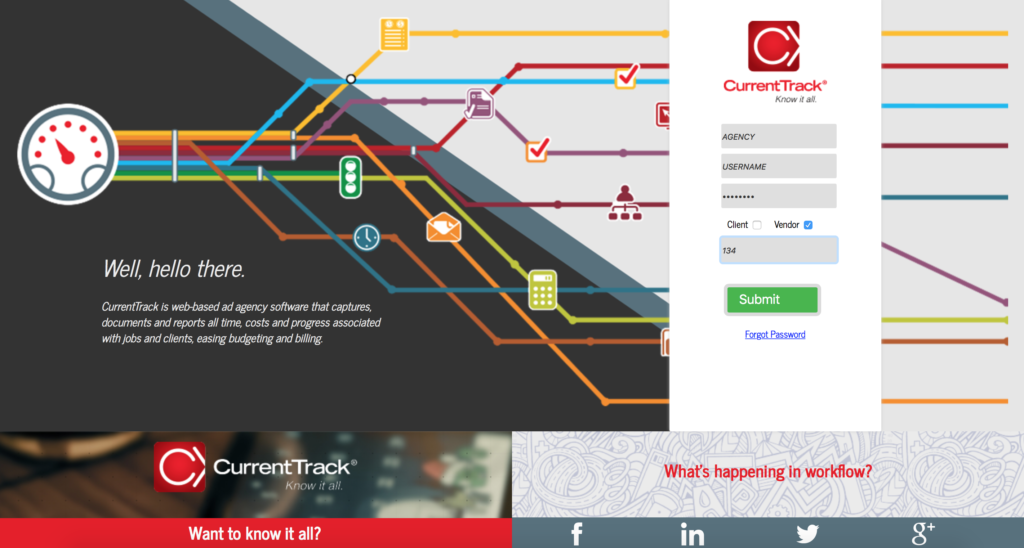
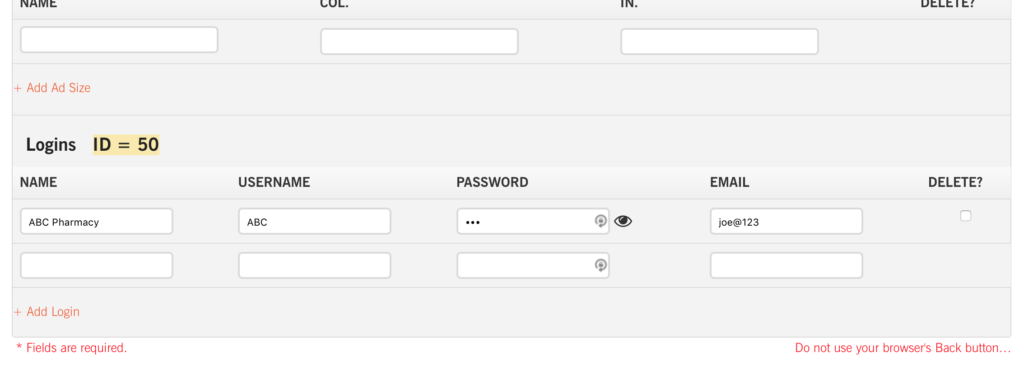
Vendors will be directed to the Client Interface where they can sign in using your Agency name and the User name and Password you’ve assigned them within the Vendor Address Book.

They’ll also need to check the box beside Vendor and enter their corresponding ID number. This number can be found within their Vendor Address Book profile.

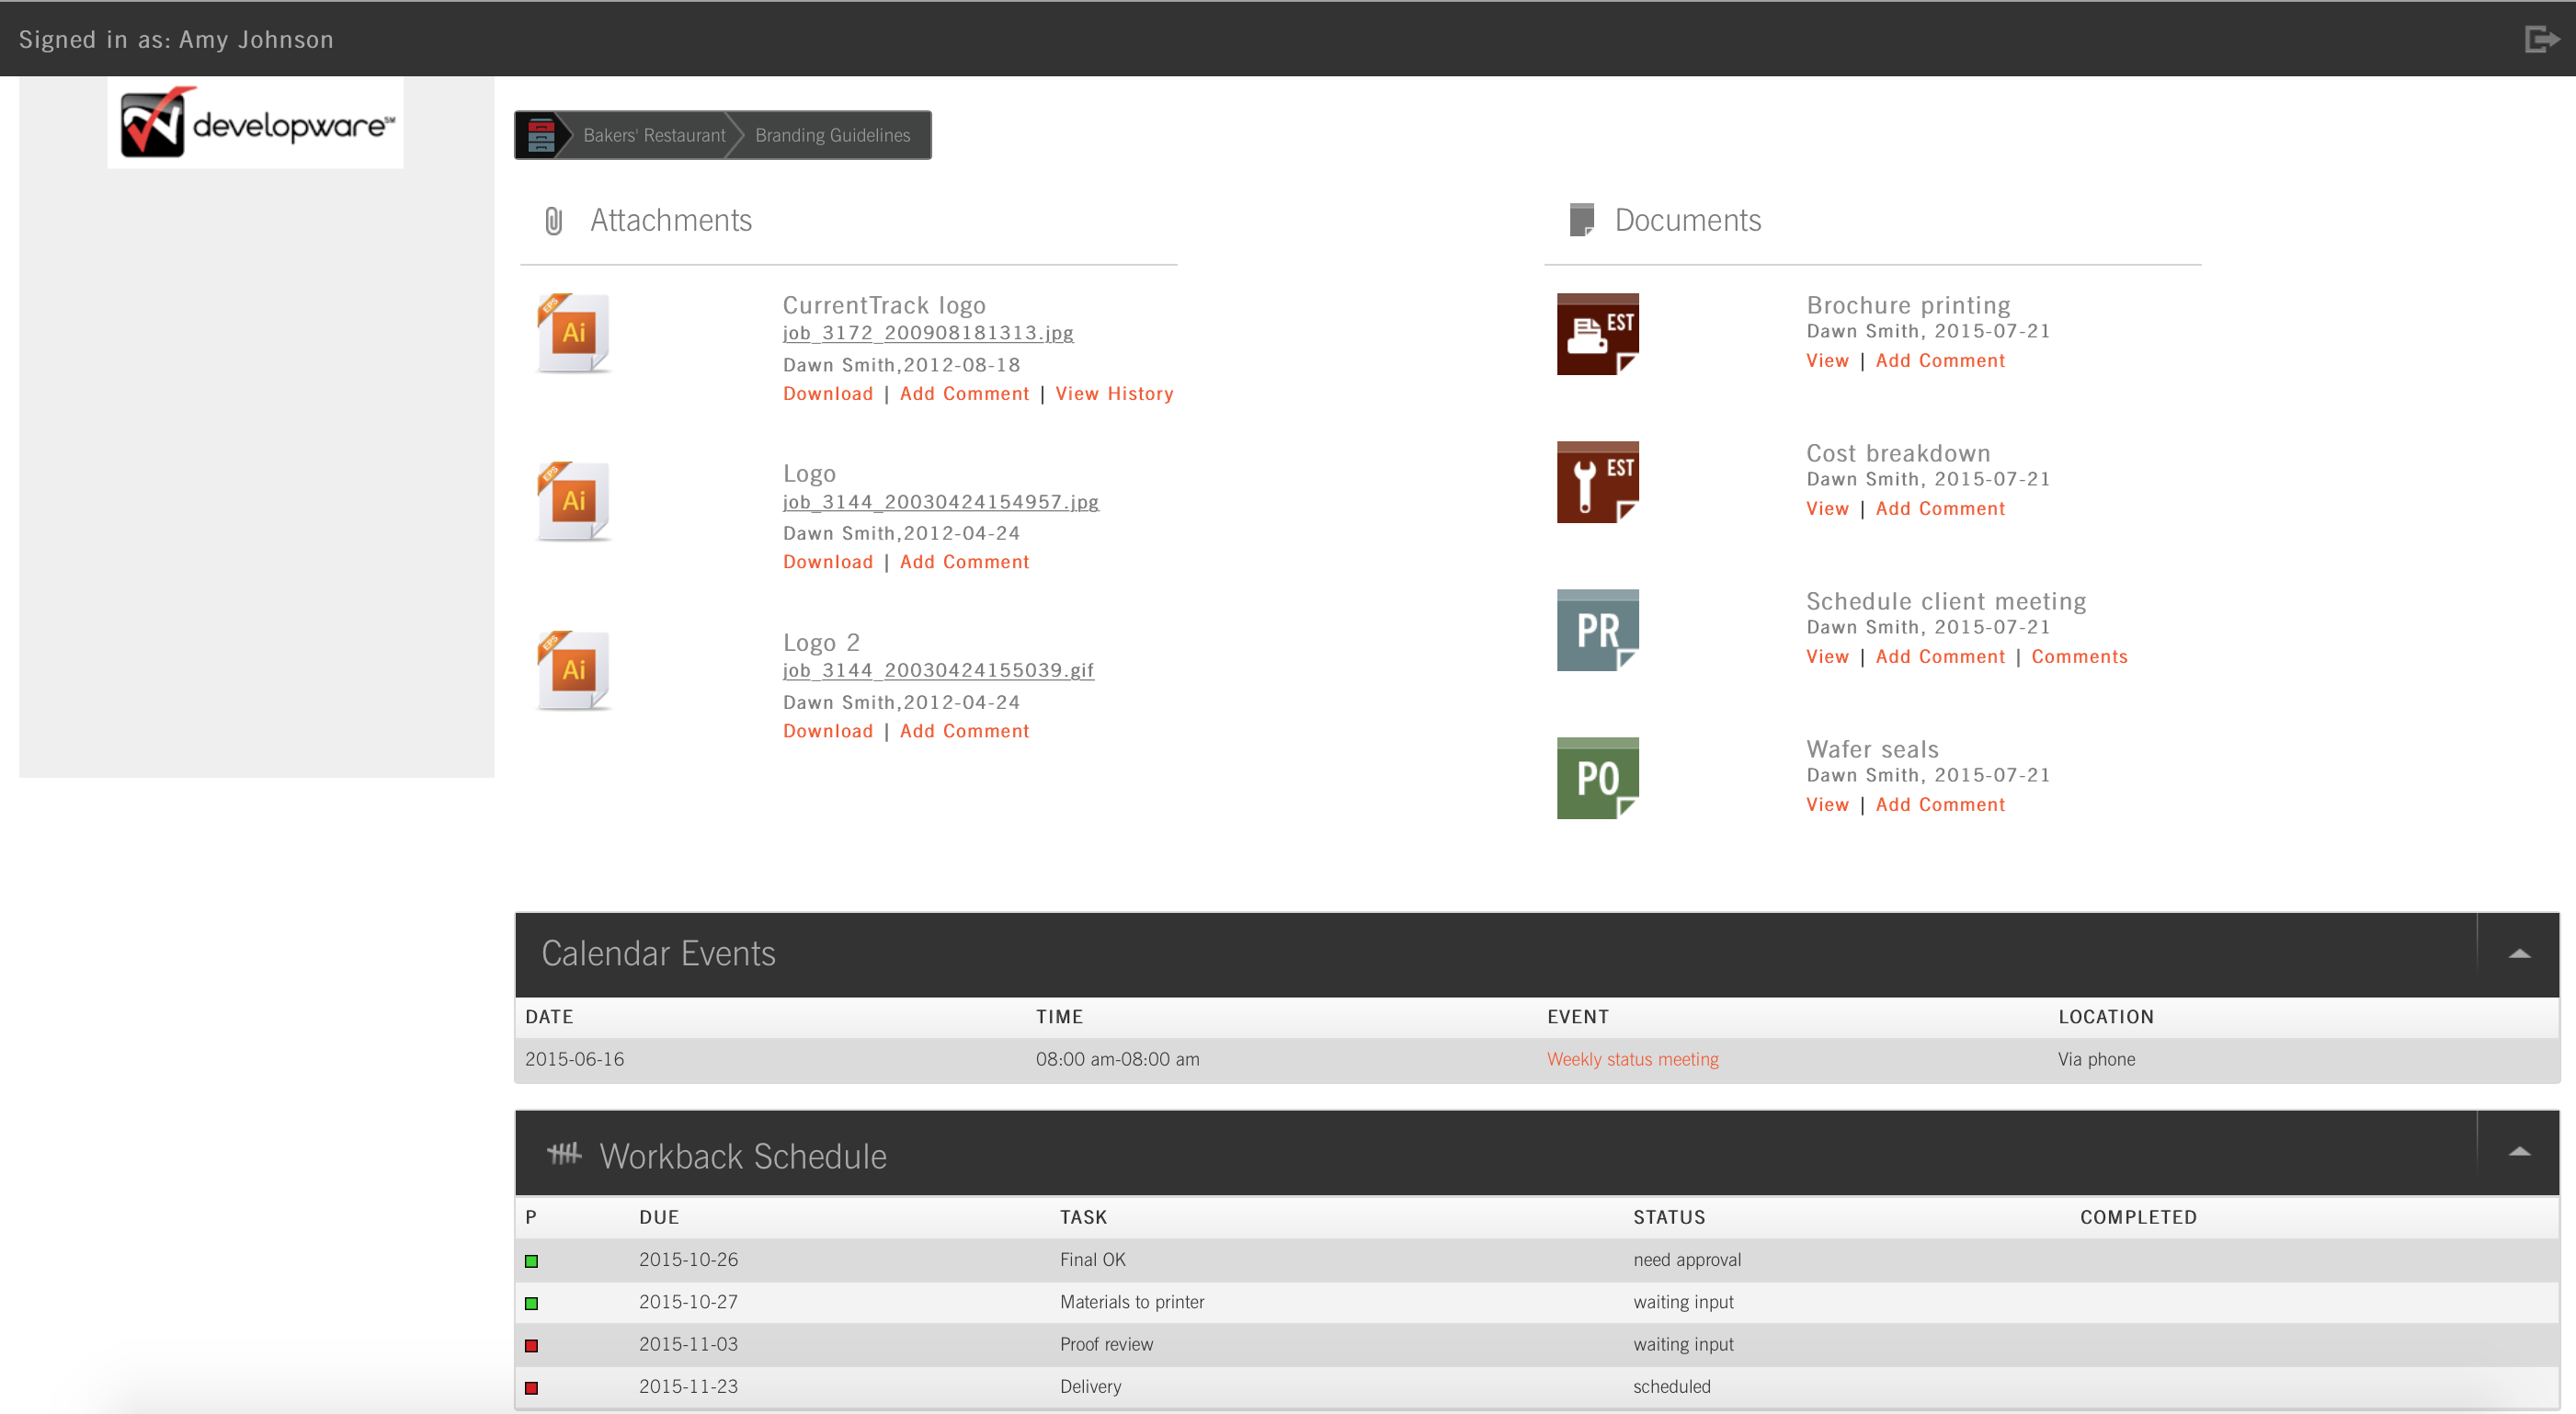
Vendors can return feedback via the Add Comment link located beneath each posted document. Feedback is automatically sent to the CurrentTrack Messages box of the Account Executive(s) and Coordinator(s) specified in the Client’s Spec Sheet as well as to Employees listed in the Notifications areas. A copy of the Feedback is saved in the [job] Documents Folder, beneath its parent document, and is viewable by everyone in your agency.

EDITING AN INSERTION ORDER
Should you need to make changes to an Insertion Order, you’ll first have to modify its parent Media Detail.
To Edit a Media Detail, go to Clients & Jobs — Client — Job One Sheet — I Want To: Open Documents Folder. Click on the Edit link beside the appropriate Detail. Once you’ve made your changes, click Submit. Remember to check the box beside (re)cc if you want to re-send notification to everyone in the original mailing list. To view the revised Insertion Order, first View the appropriate Media Detail and then click on a Vendor.
MANAGING INSERTION ORDERS
To Manage Insertion Orders, go to Admin — Agency Administration — Manage Insertion Orders.
Indicate the criteria you’d like to use (i.e. Client, Vendor, Job No., Insertion Order Number Range, Date Range, and/or Order Results By); click Submit. On the following screen, click the appropriate column header to re-sort the data. Click Edit or View to perform said action on the Order.
SCENARIO
How can I, as the Traffic Manager, track upcoming run dates in CurrentTrack?
First, add a step to the respective job’s Workback Schedule, once the media buy has been scheduled. For example:
Due: 2016-07-11
Task: Run date
Status: Working
Responsible: [whoever is charged with getting the ad(s) to the Vendor(s)]
Next, enter any additional details about the run in the Comments box of the Task. To view a list of all upcoming run dates, view the Working Tasks List. You can also refer to the Master Task List, under the name of whoever is responsible forgetting the ad(s) to the Vendor(s). Once a run date has passed, update the job’s Workback Schedule so the Task will be removed from the Working and Master Task Lists, as well as from the Assigned Task List of whoever was Responsible.
SCENARIO
We have several Clients for whom we do Insertion Orders, but we don’t buy media. They handle pricing and contracts and receive bills directly. We focus on the production and forwarding of artwork. How can I reflect that in CurrentTrack?
First, open a production job to track all applicable time, Tasks, etc. Next, open a media job so the two “expenses” are captured separately.
Create a (P.O.) under the media job rather than an Insertion Order. Because you’re not using the Digital Media Detail, for example, to work through the buy, a P.O. serves the same purpose. Enter insertion instructions in the Description field of the P.O. line item(s); Vendor would be the Station. This will enable you to later Manage Purchase Orders by Vendor and see what was spent with a particular Station. It’d also enable you to reflect the dollar amount for Vendor reference.
SCENARIO
Should I consider advance billing?
Yes. Place the buy with the respective Vendor(s) and then pre-bill the Client for the full amount (e.g. March through May). Or, if you’d rather, send a bill on the last day of the month for the upcoming month (e.g. send a bill on February 28th for March 2016 insertions). Billing after ads have ran could potentially cause cashflow issues.
For example, you wait two weeks (or more) for and ad to run. You receive an Invoice from the Vendor a week later. At that point, you bill the Client and wait for payment; another week or more. Before you know it, a month has passed without the money being in-house. By pre-billing, it could feasibly be in-house within two weeks or less. Make goods could always be credited after the fact.
SCENARIO
Why don’t Insertion Order figures flow into the job’s Production Estimate?
Keep two things in mind, as related to CurrentTrack:
1. A Production Estimate is, “an estimation of the production costs associated with a job” (e.g. the Art Director’s time, price of color outputs, etc.).
2. A Media Detail is, “an estimation of the media costs associated with a job” (e.g. air time, magazine space, etc.).
A Print Estimate contains several Vendor quotes for printing. Once you decide which figure(s) to go with, you edit the Estimate and check the box beside the figure(s). The figure(s) then flows into the larger Production Estimate for the job. These figures DON’T flow into the [job] Financial Report as it’s a snapshot of incurred costs, to date. Printing costs are only reflected in the Financial Report once a has been entered.
A Media Detail — whether Broadcast, Circular, Digital, Outdoor, or Print — is a “worksheet” in which possible media combinations are outlined. Once your Client approves the buy, the Detail is edited and either Monthly Billing Projections are entered or a QuickBooks Worksheet is prepared. The Detail then becomes an incurred cost. The figures DO flow into the Financial Report of the job as it’s a snapshot of incurred costs, to date. It wouldn’t make sense for the figure(s) to flow back into the Production Estimate.
A workaround would be to create a Production Estimate that reflects your Media Buyer’s time, for example, along with any other costs (e.g. press clipping service, research, etc.). Create a Media Detail as you normally would, arriving at a Grand Total for the buy. Edit your Production Estimate and enter the Grand Total in a Work Code Sub-Item field (e.g. Media Buy Amount). Then, your “recommended” media costs will be reflected in the overall Estimate for the job.

